Vault OSS UI Introduction
This guide is meant to serve as an introduction to the Vault OSS UI.
Steps
For a more updated version of this guide, visit the Web UI tutorial on HashiCorp Learn.
This guide walks you through the basic Vault OSS UI steps.
Step 1 - Start the Vault Server Step 2 - Login Step 3 - Explore the Vault UI
Step 1: Start the Vault Server
In order to access the Vault UI, download the Vault 0.10 binary and issue the command vault server -dev which will unseal and initialize Vault.
$ vault server -dev

==> Vault server configuration:

Api Address: http://127.0.0.1:8200
Cgo: disabled
Cluster Address: https://127.0.0.1:8201
Listener 1: tcp (addr: "127.0.0.1:8200", cluster address: "127.0.0.1:8201", tls: "disabled")
Log Level: info
Mlock: supported: false, enabled: false
Storage: inmem
Version: Vault v0.10.0+prem
Version Sha: acef52d229011a80320b125f7ffe02b7f0fb0db4

WARNING! dev mode is enabled! In this mode, Vault runs entirely in-memory
and starts unsealed with a single unseal key. The root token is already
authenticated to the CLI, so you can immediately begin using Vault.

You may need to set the following environment variable:

$ export VAULT_ADDR='http://127.0.0.1:8200'

The unseal key and root token are displayed below in case you want to seal/unseal the Vault or re-authenticate.

Unseal Key: I5KCg15XyaIpZ8g/gzCQ+LeLEIwJro10CM63X1M7WkU=

Root Token: a0797756-691f-ff5f-863d-e8984d53bcca

Development mode should NOT be used in production installations!
The Vault terminal output will present a root token that can be used to login at http://127.0.0.1:8200 if running Vault locally.
Alternatively, you can create an HCL configuration file, define a backend, and then start Vault.
$ vault server -config=<CONFIG_FILE>
Step 2: Login
Launch the Vault UI by entering <VAULT_ADDR>/ui in the web browser: http://127.0.0.1:8200/ui
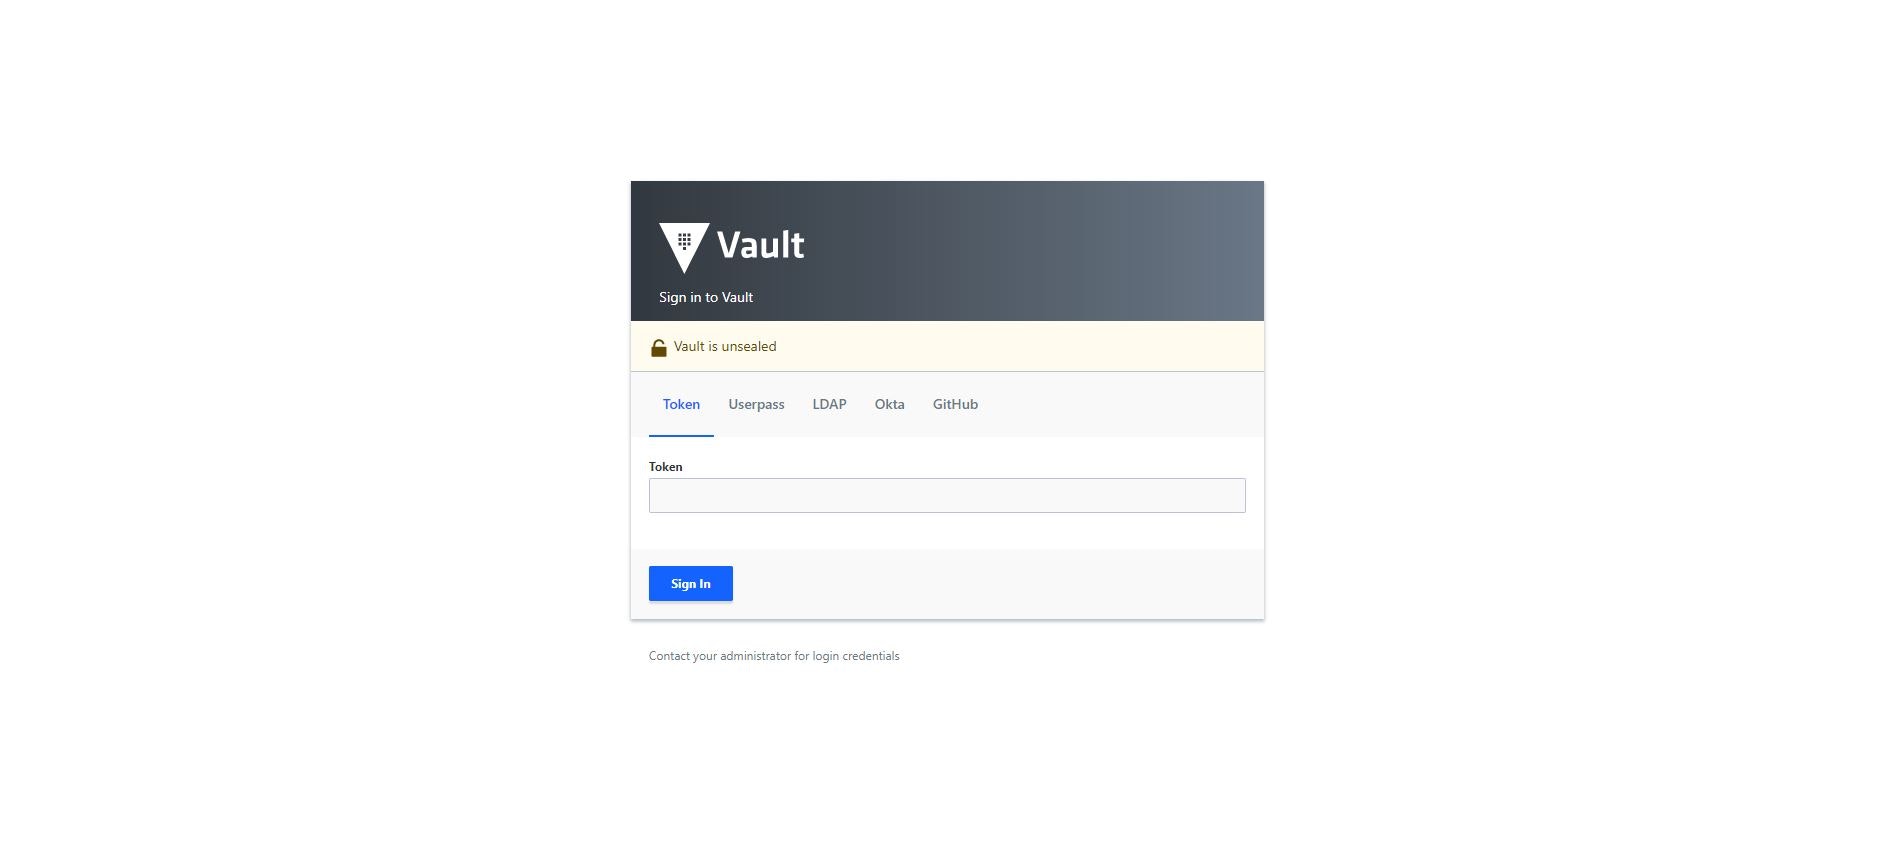
Enter the root token generated at Step 1, and click Sign In.
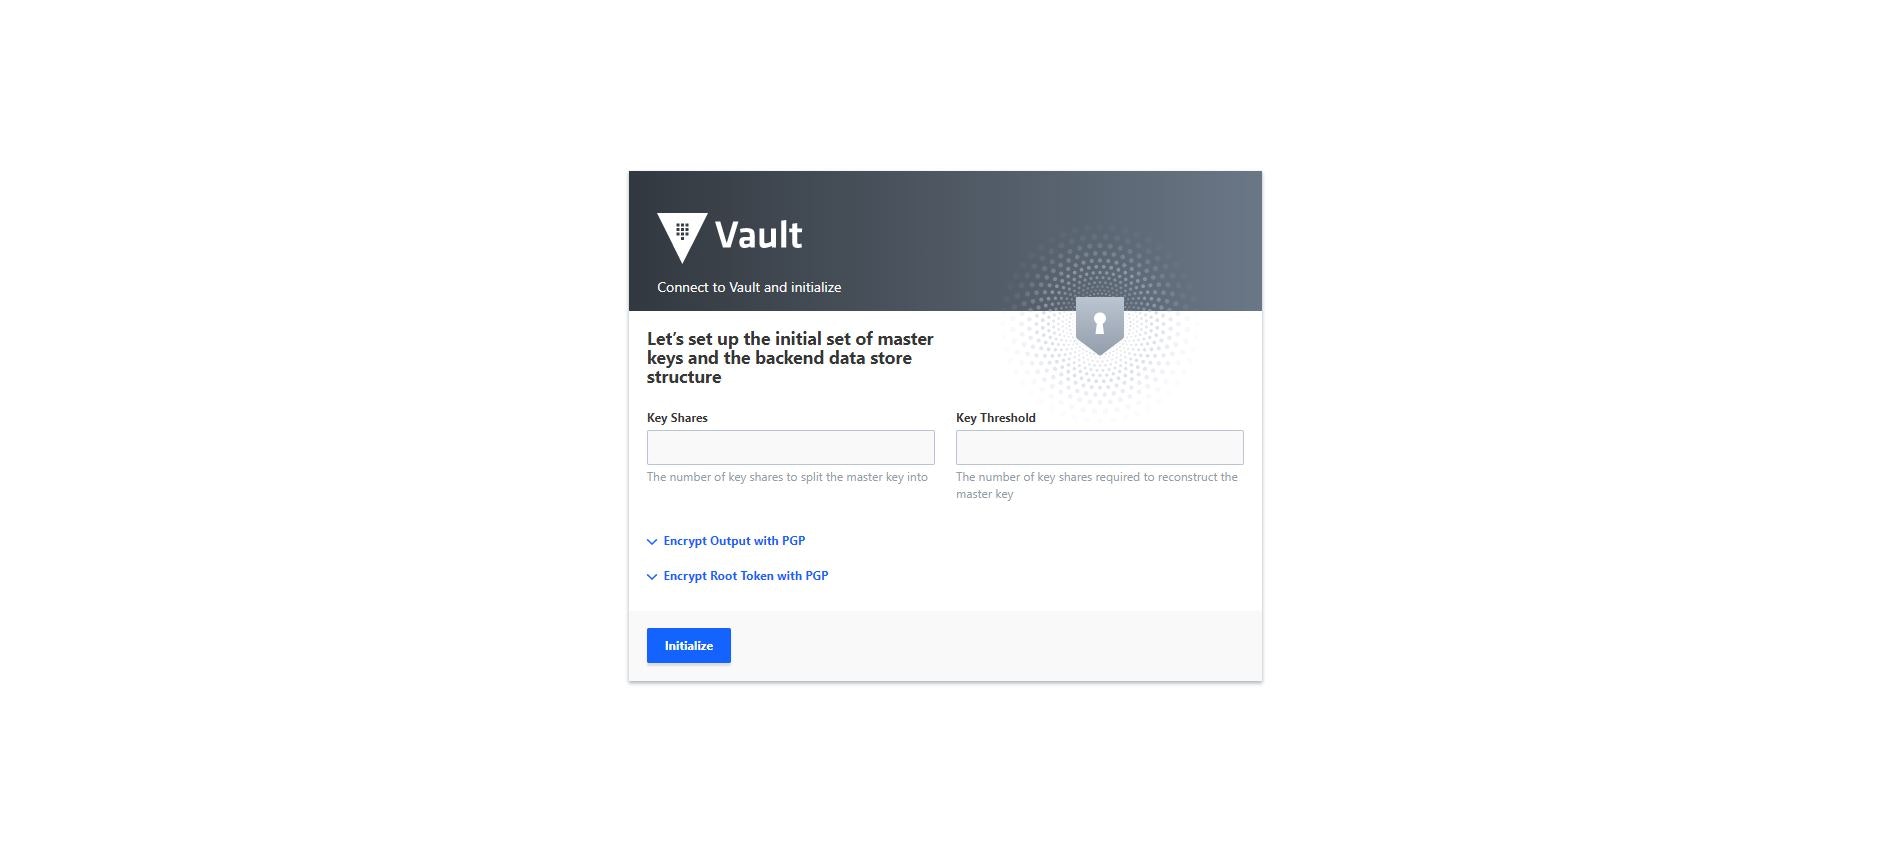
If you provided a configuration file to start the Vault server in Step 1, you will be prompted to specify the number of shamir key shards as well as the threshold of shards required to unseal the Vault when you launch the UI for the first time. Enter the desired number of key shares (e.g. 5) and key threshold (e.g. 3).
Optionally, select the Encrypt Output with PGP and/or Encrypt Root Token with PGP to avoid having the outputs displayed in clear text.
Click Initialize.
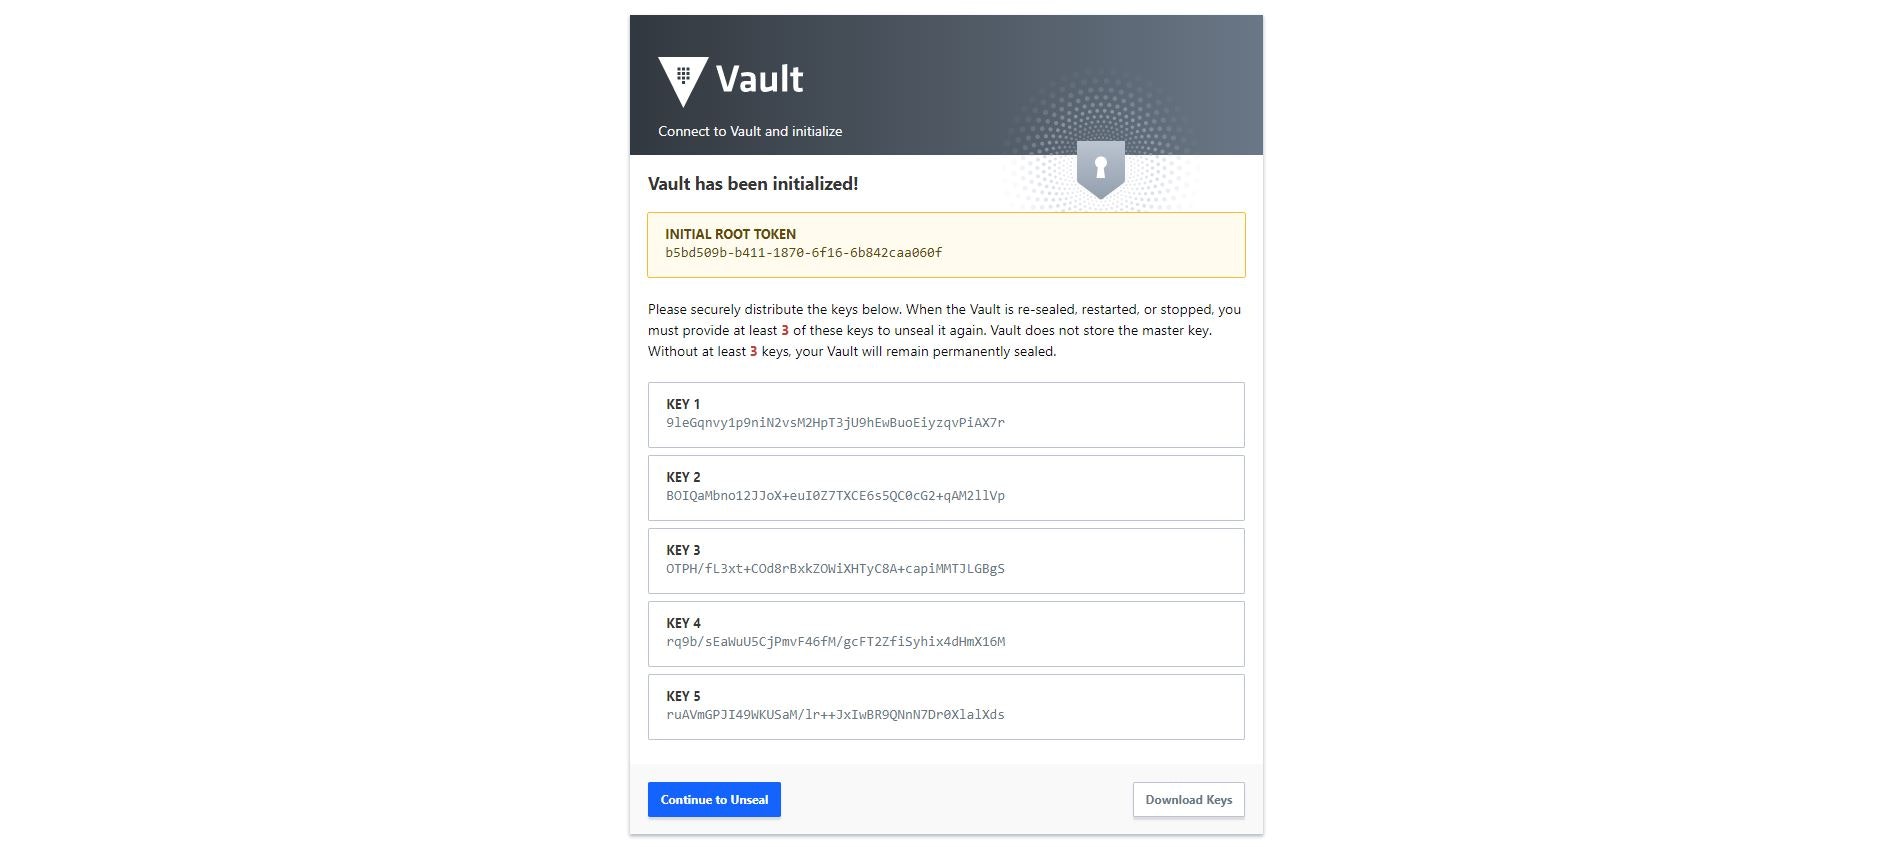
The output displays the shamir keys, as well as the root token. Click Download Keys to store the this information.
Click Continue to Unseal.
Enter the root token and click Sign In.
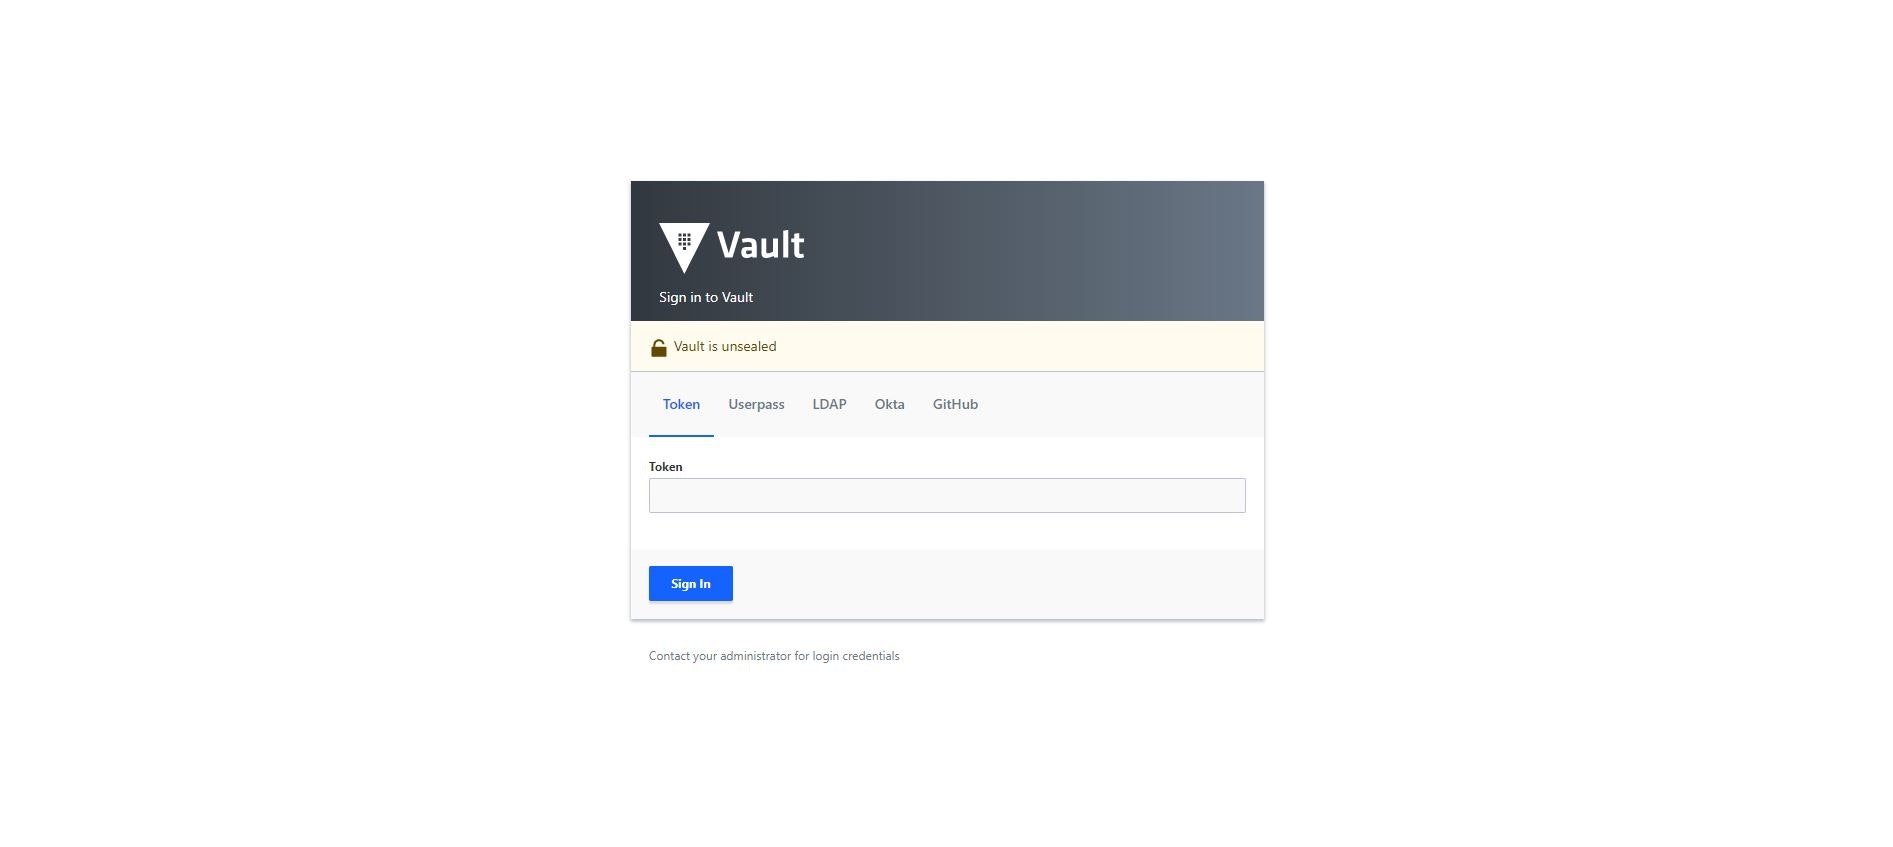
Step 3: Explore the Vault UI
Secrets Menu
The secrets menu provides a way to manage integrated secret engines. Secrets engines are components which store, generate, or encrypt data and are enabled at a path in Vault. In this way, each secrets engine defines its own paths and properties. Vault is prepopulated with two default secret engines, "Cubbyhole" and "Secret".
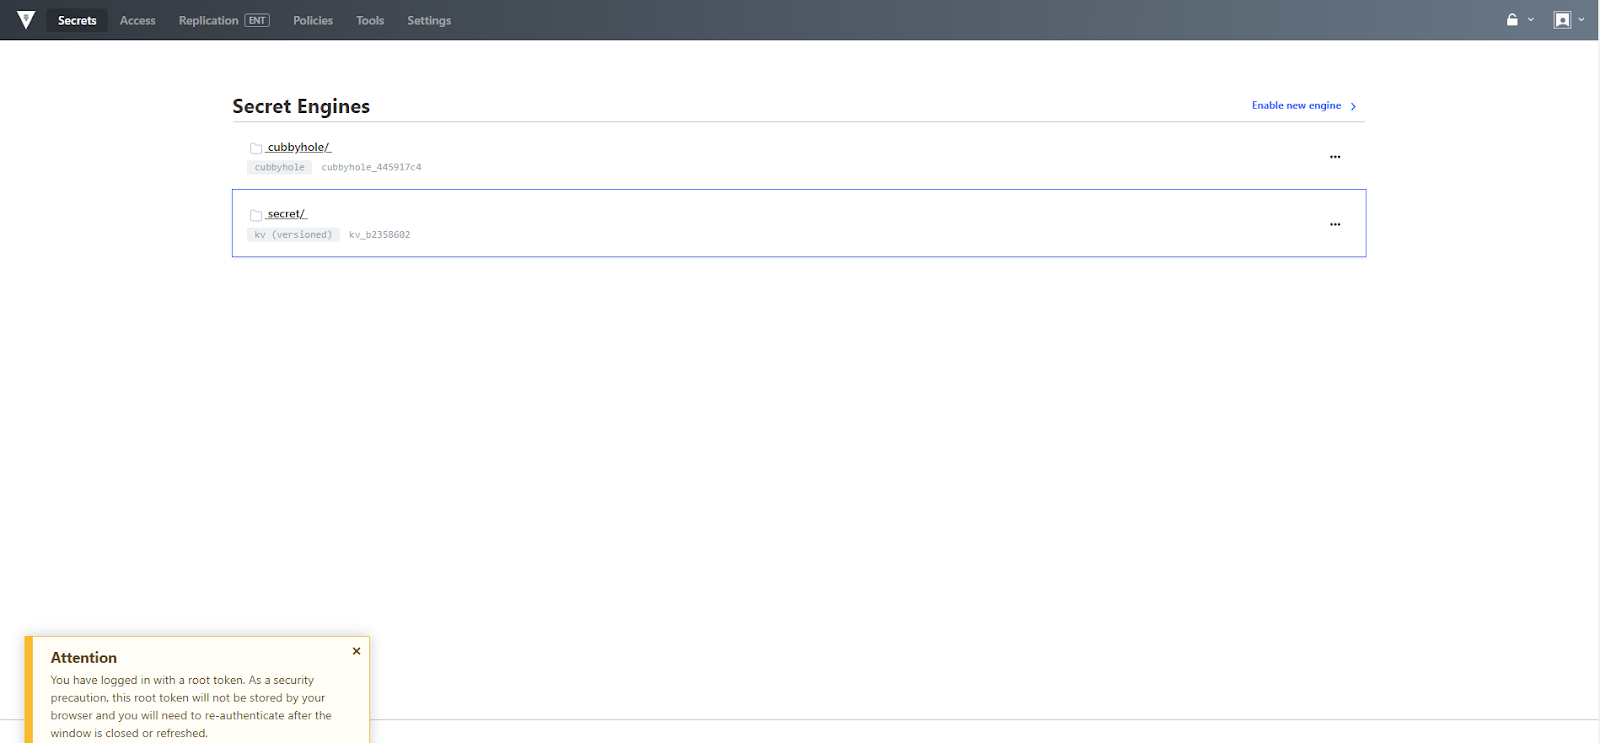
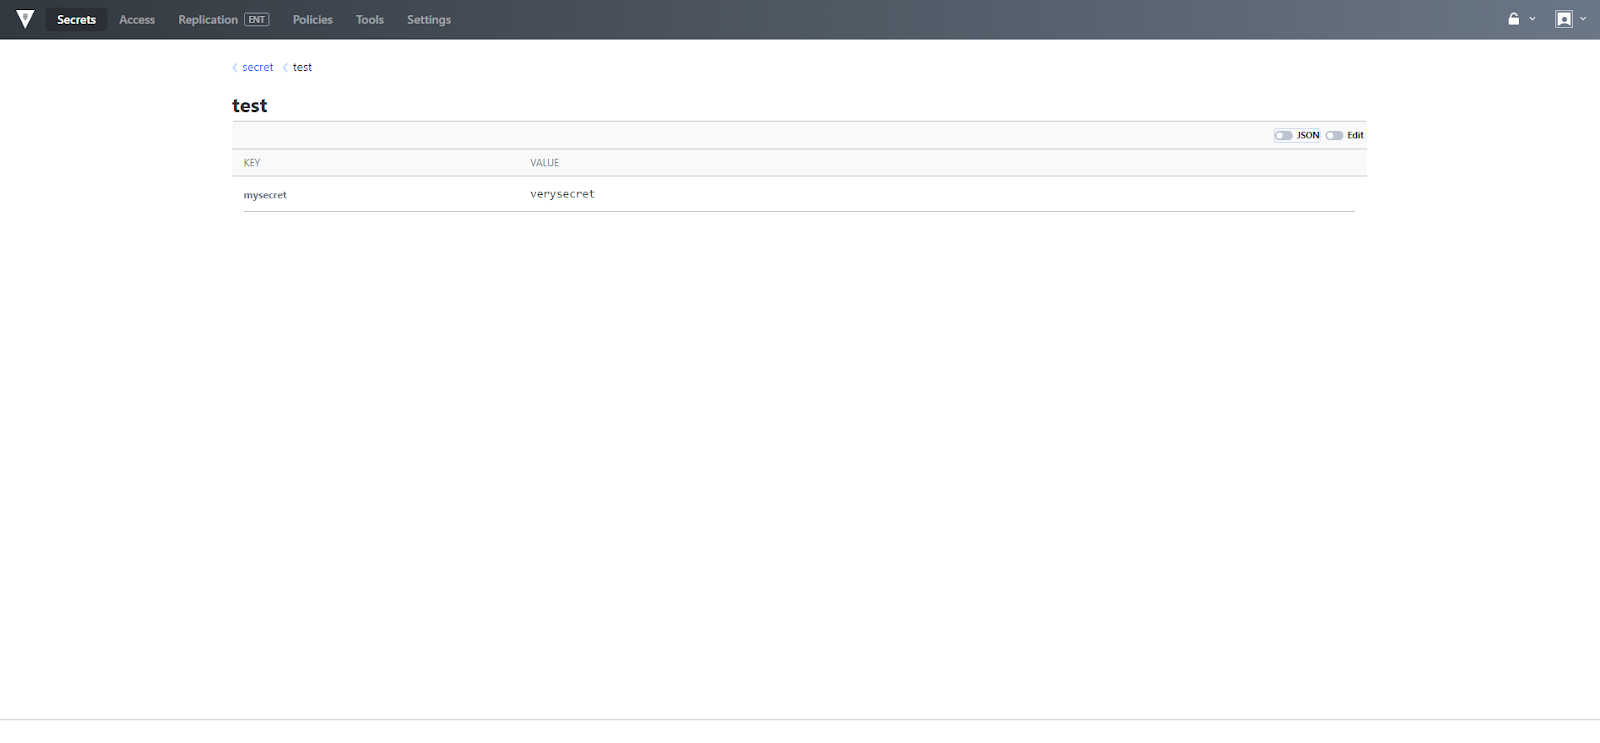
The secret engine entitled "secret" is a versioned key/value (KV) store. Versioned KV provides a new form of secret that allows you to revert to a version of a secret which is stored on a path in order to allow one secret to refer to multiple iterations of the same data. Secret versioning is fully available via the API and CLI. The Vault UI currently supports actions on the most recent version of the secret and will support additional capabilities in a future release.
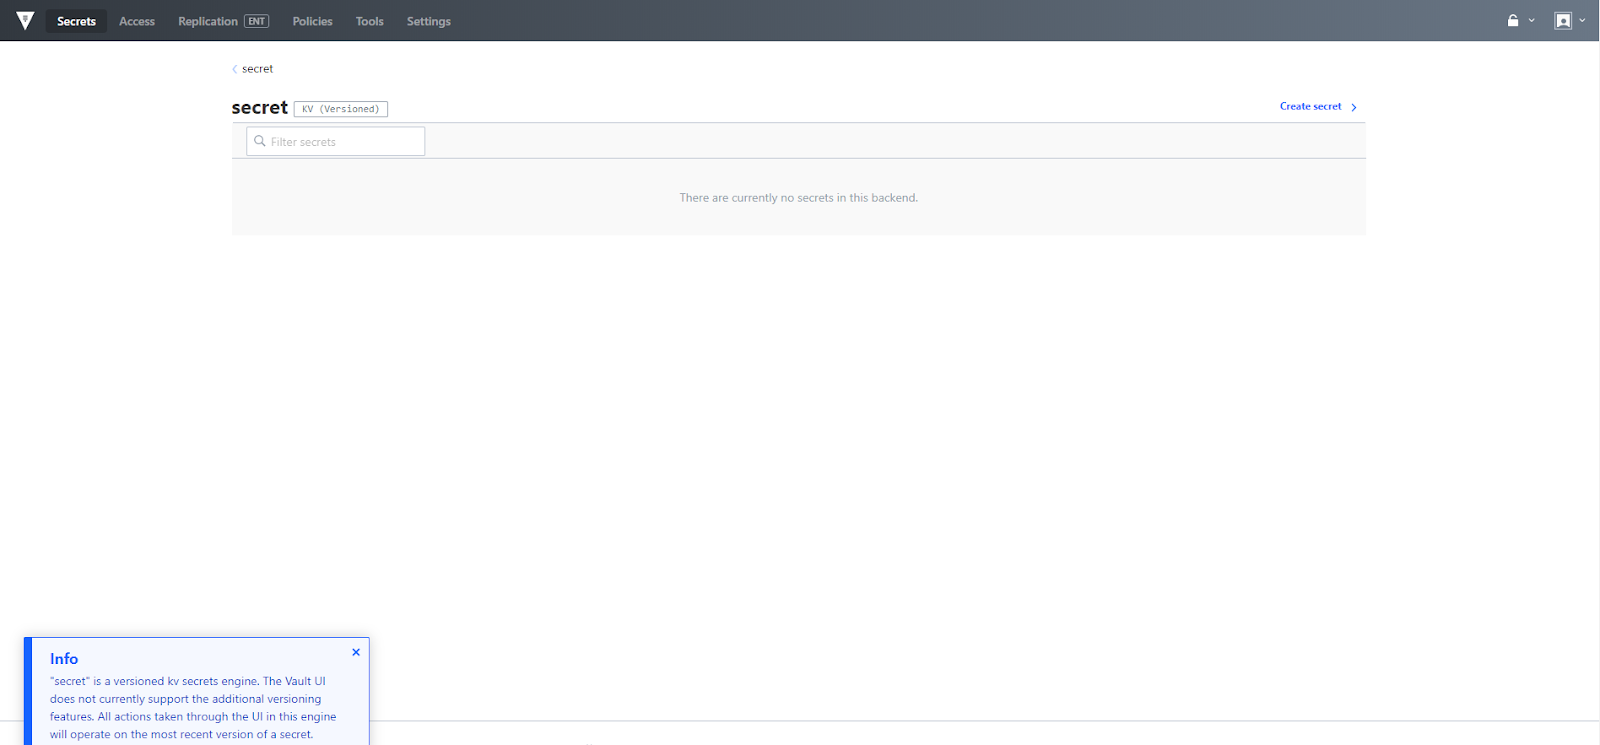
In order to create a secret under the versioned key value store, click the Create secret link, provide a path, key and value then click save.
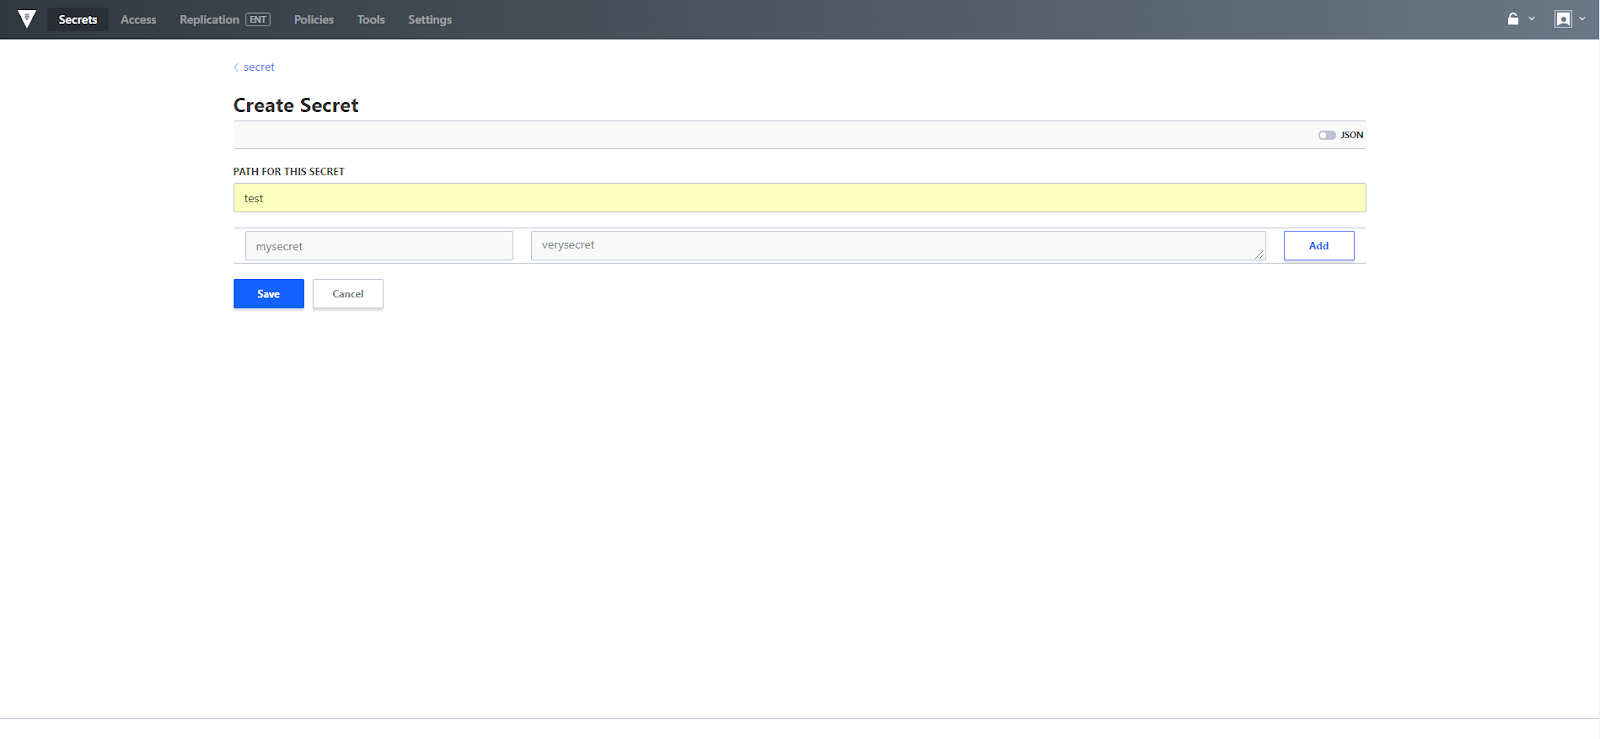
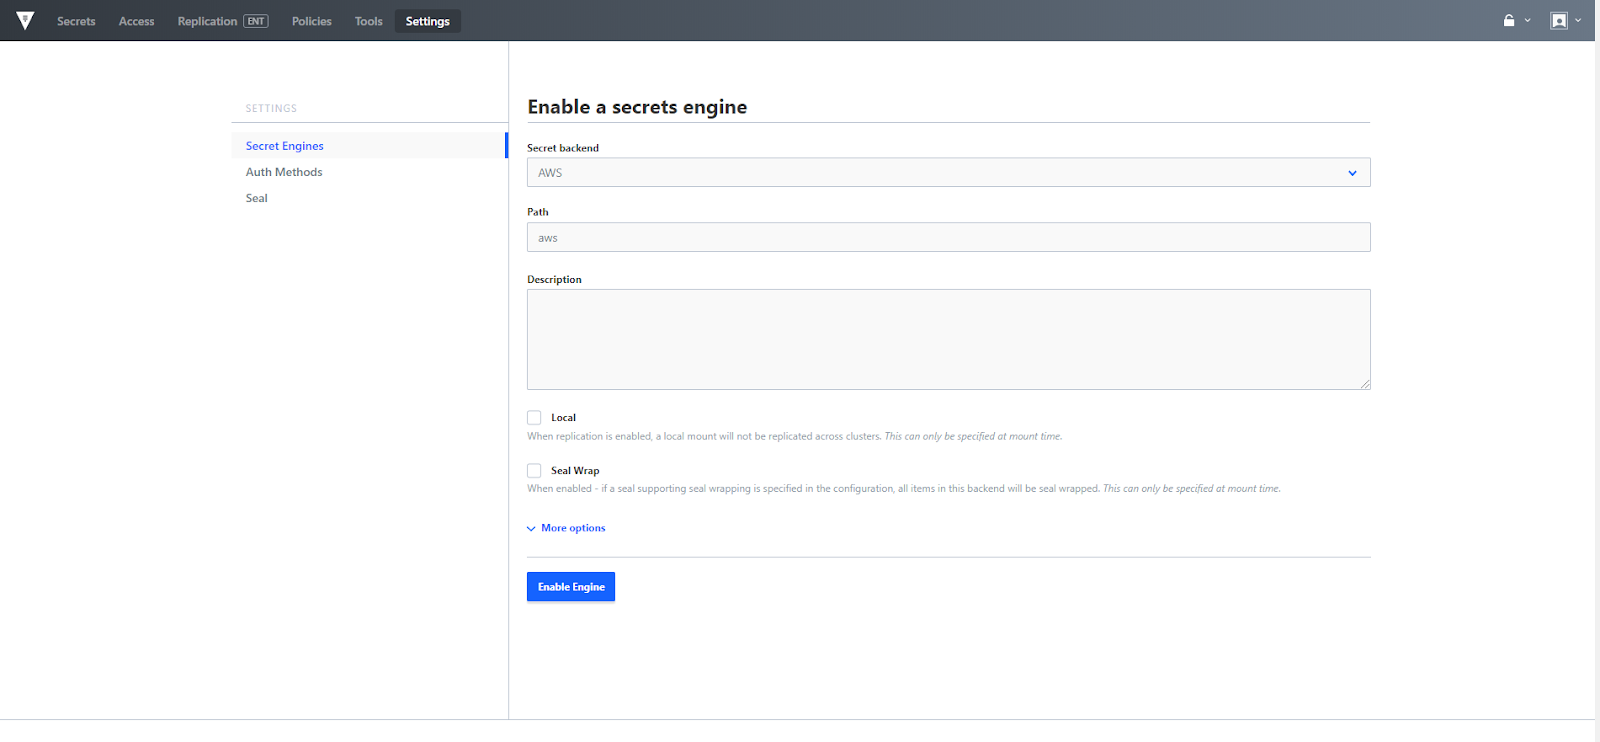
The Secrets menu also provides a link to configure additional secret engines. Select Enable new engine and the secrets engine configuration menu appears where you can add additional engines, such as AWS, various databases, transit, etc. All Secret engines can be mounted in the UI, while a subset of those engines can be configured using the UI. Currently AWS, KV, PKI, SSH and Transit Secret Engines are fully configurable via the UI.
Access
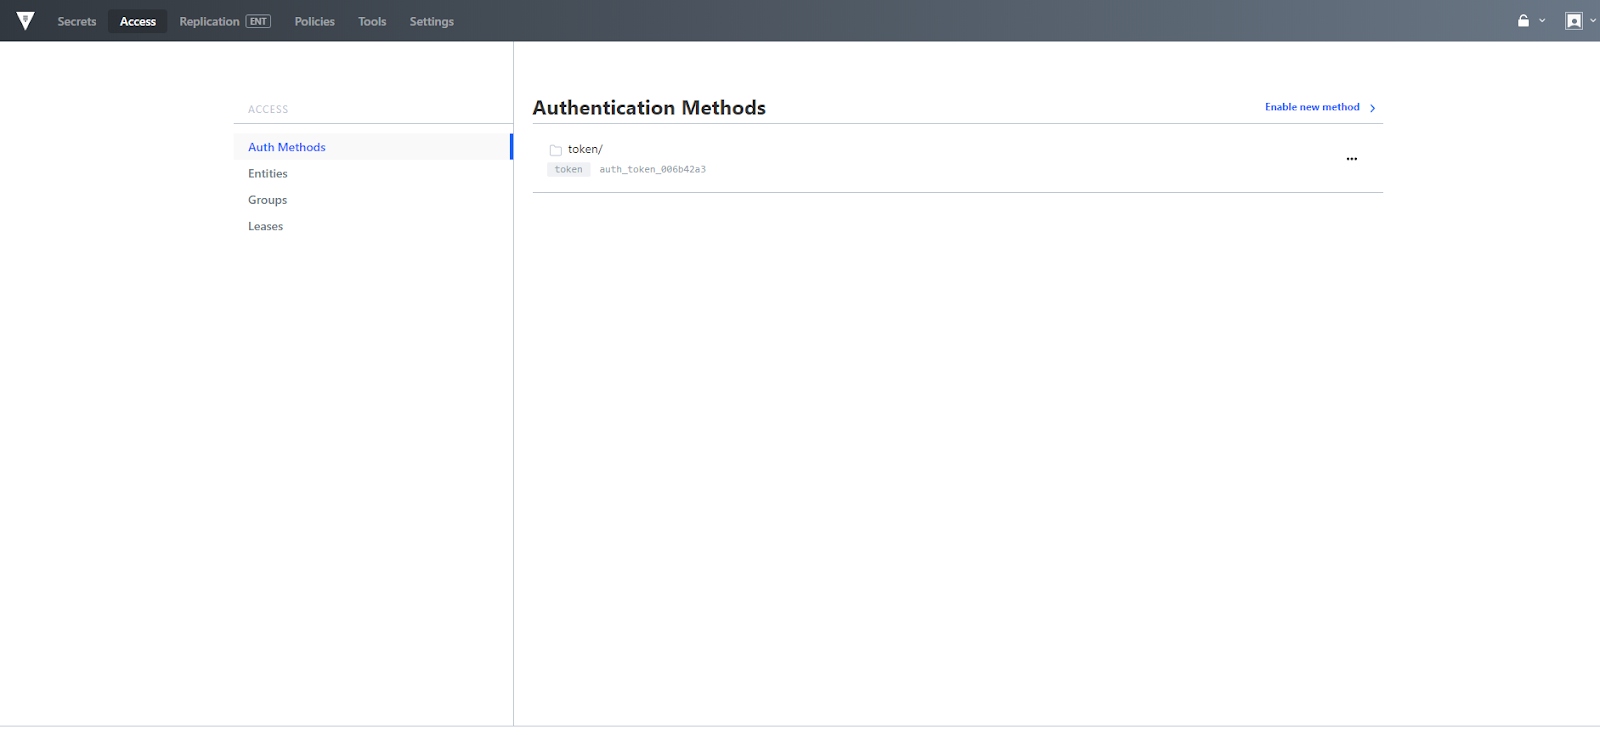
The access menu is a new addition to the Vault UI as of 0.10 and it provides a means for managing authentication methods within a Vault cluster. This includes managing users, vault identity entities, as well as leases.
Replication
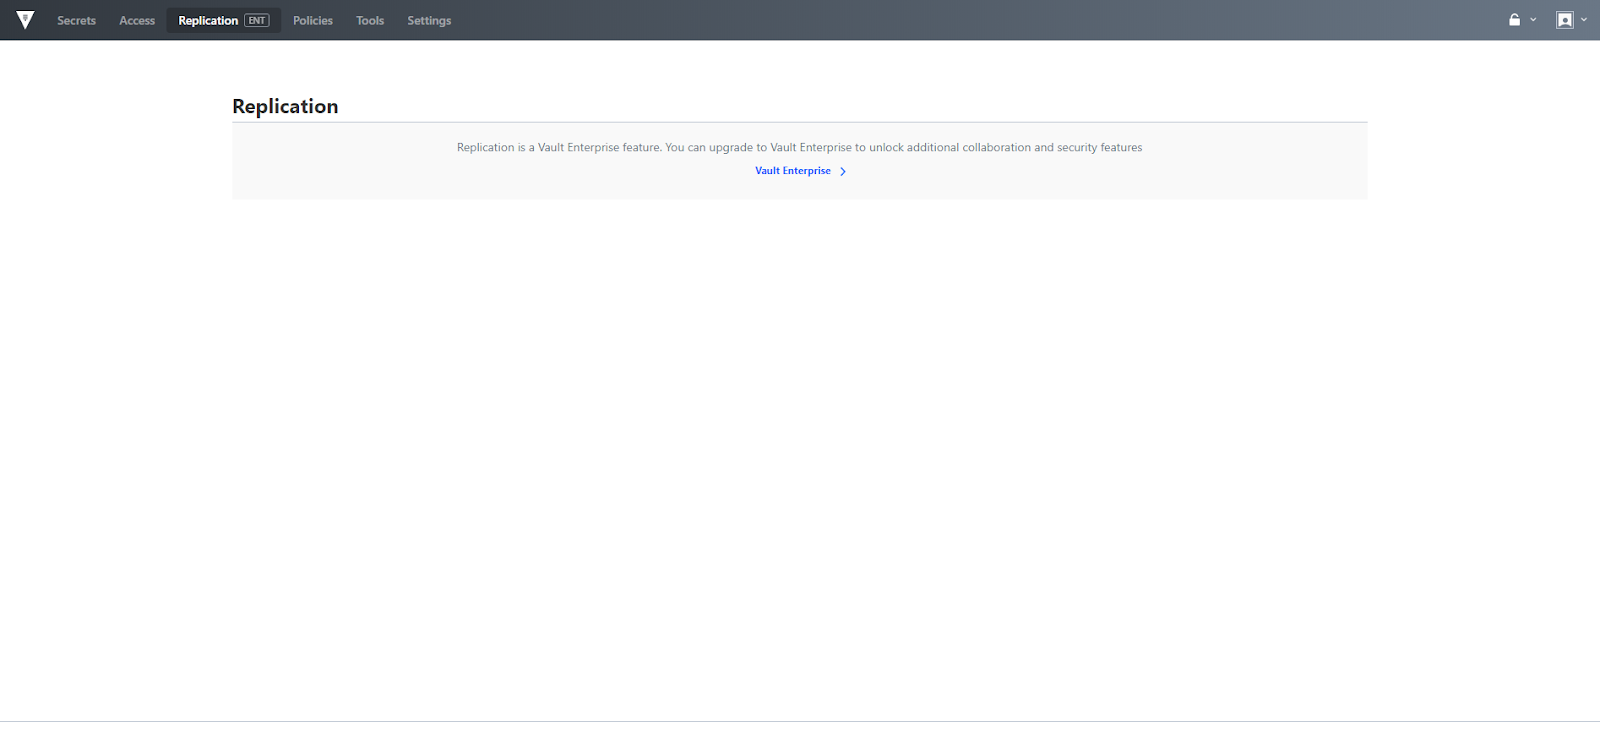
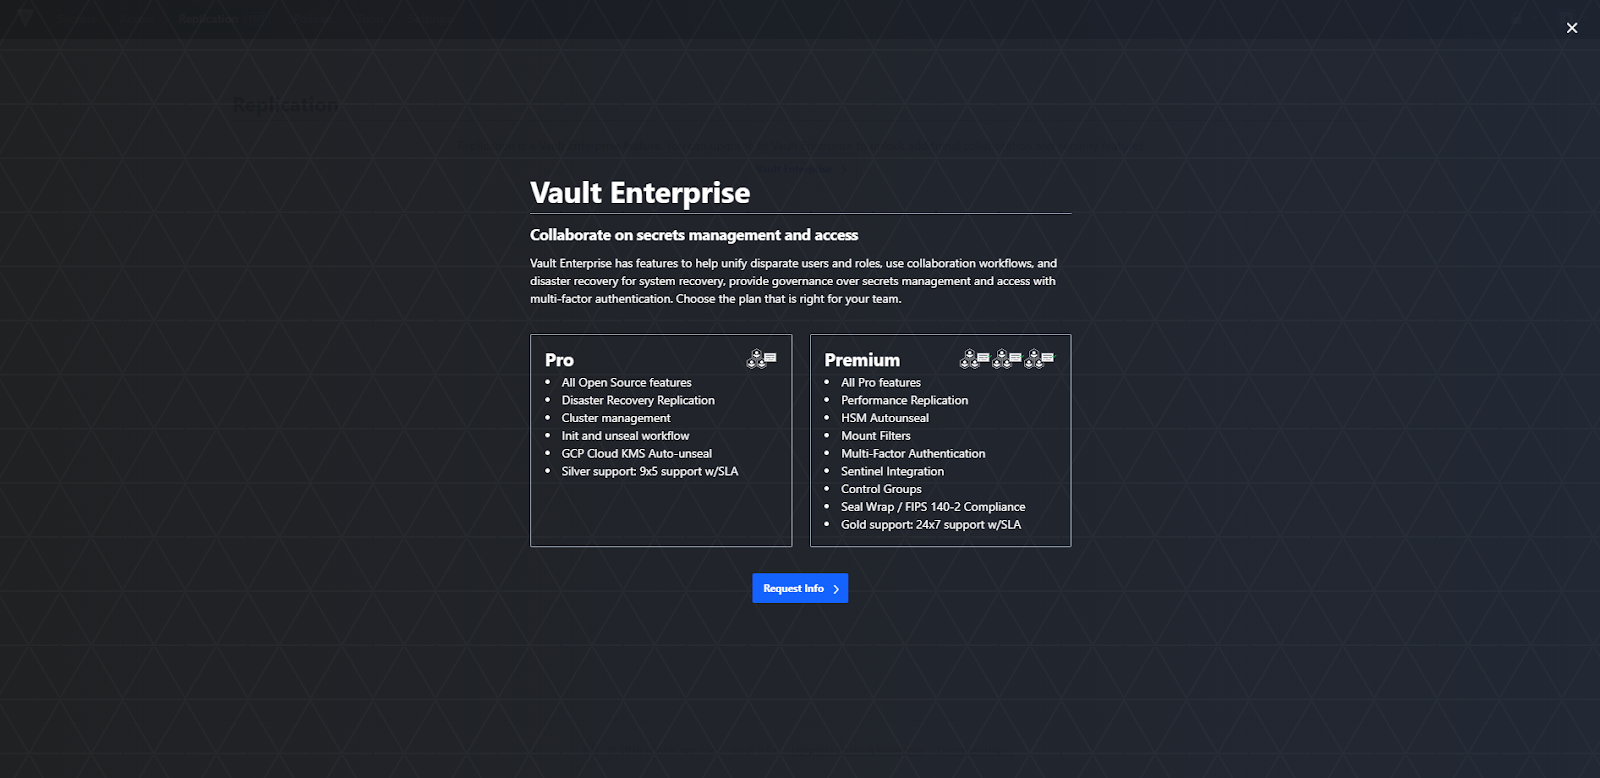
The replication menu allows you to configure Disaster Recovery (DR), as well as Performance Replication. DR is designed to protect against catastrophic failure of entire clusters. Performance replication scales workloads horizontally across clusters to make requests faster. Disaster Recovery and Replication are Vault Enterprise only features. The "Vault Enterprise" link may be accessed to learn more about Vault Enterprise. Please note, if you are an existing Vault Enterprise user, this area has not changed and is still full featured.
Policies menu
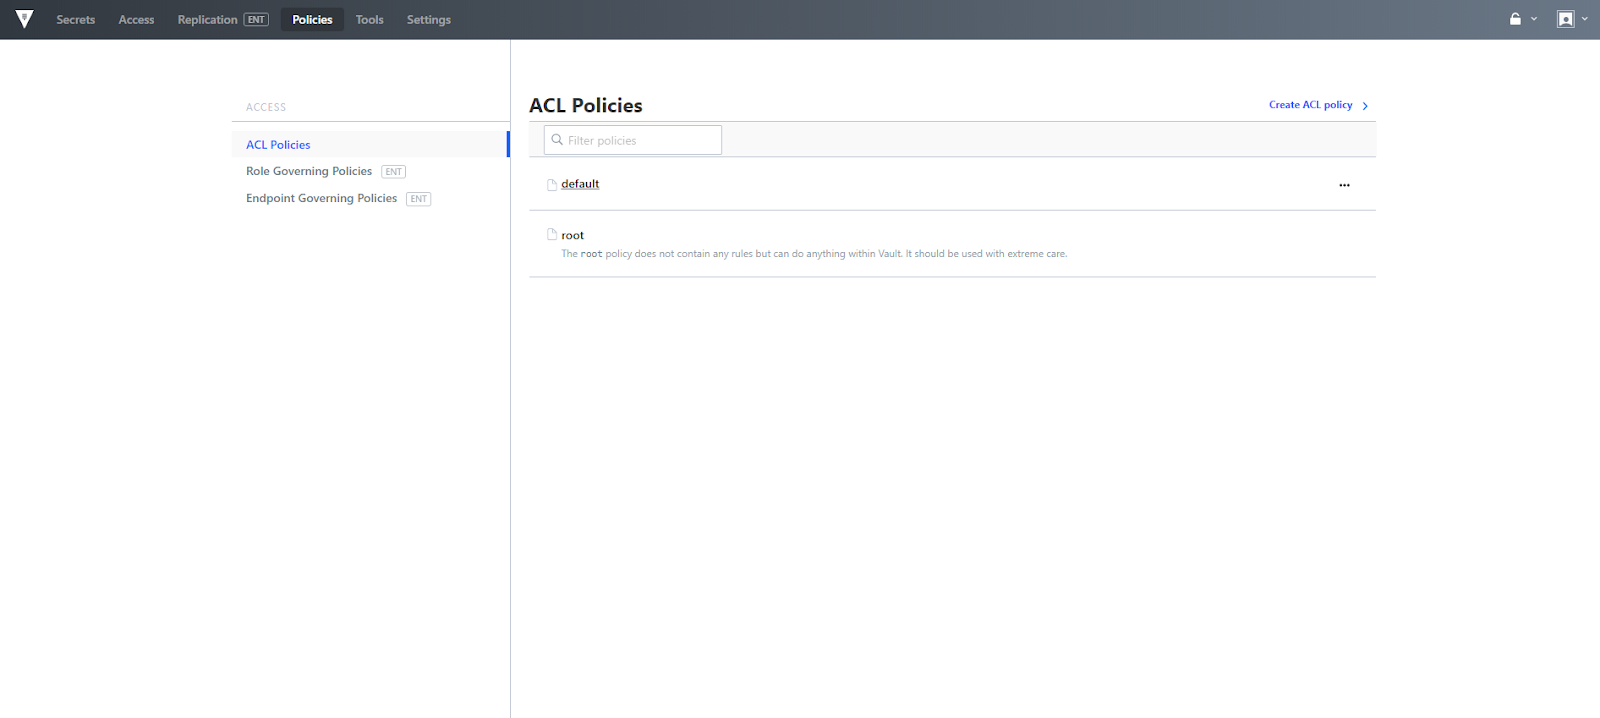
The policies menu provides a way to manage ACL Policies, as well as Role and Endpoint Governing policies. ACL policies provide a declarative way to grant or forbid access to certain paths and operations in Vault. The capability to upload an ACL Policy file is new in 0.10, along with the existing online file editing capabilities.
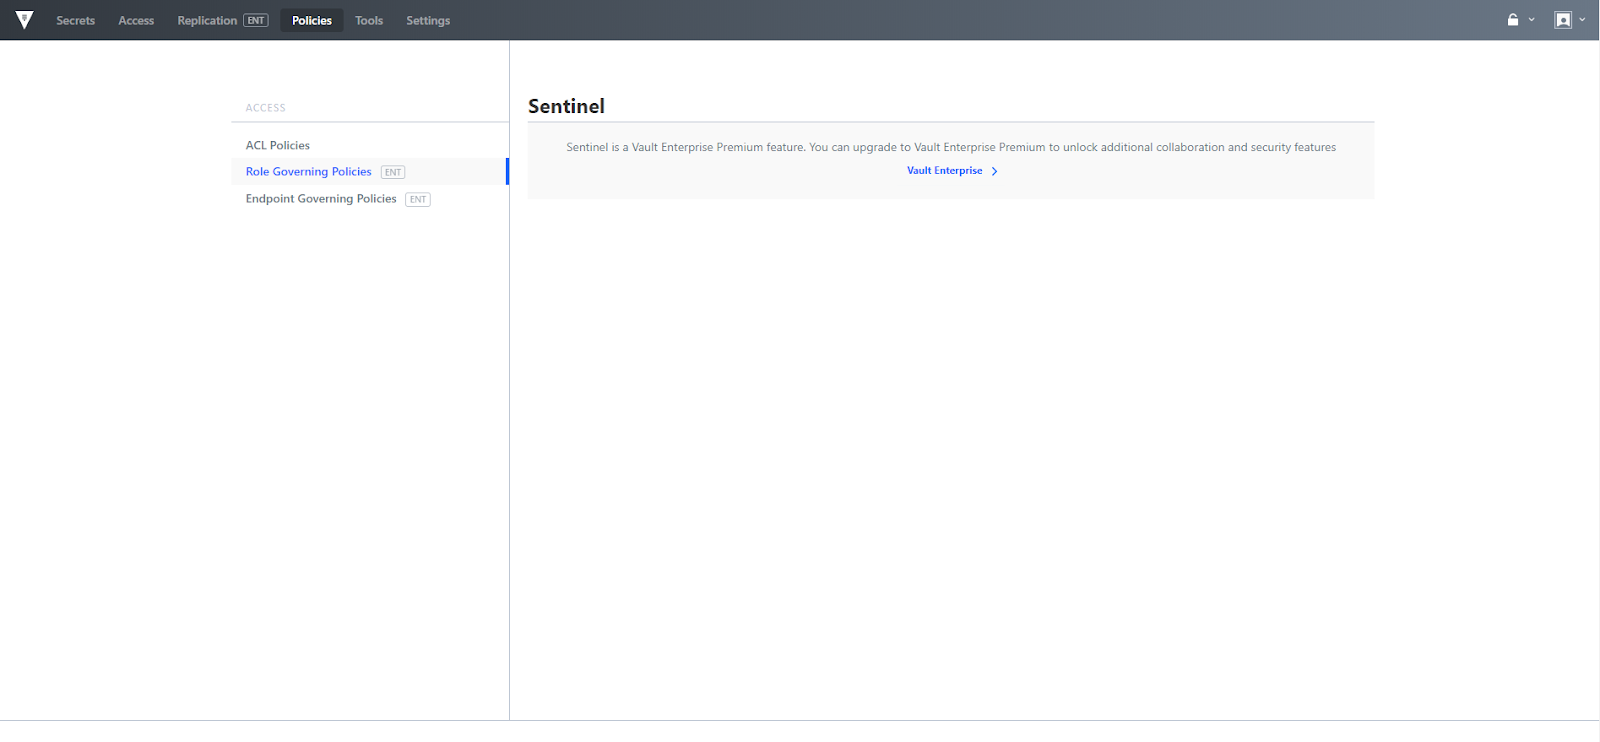
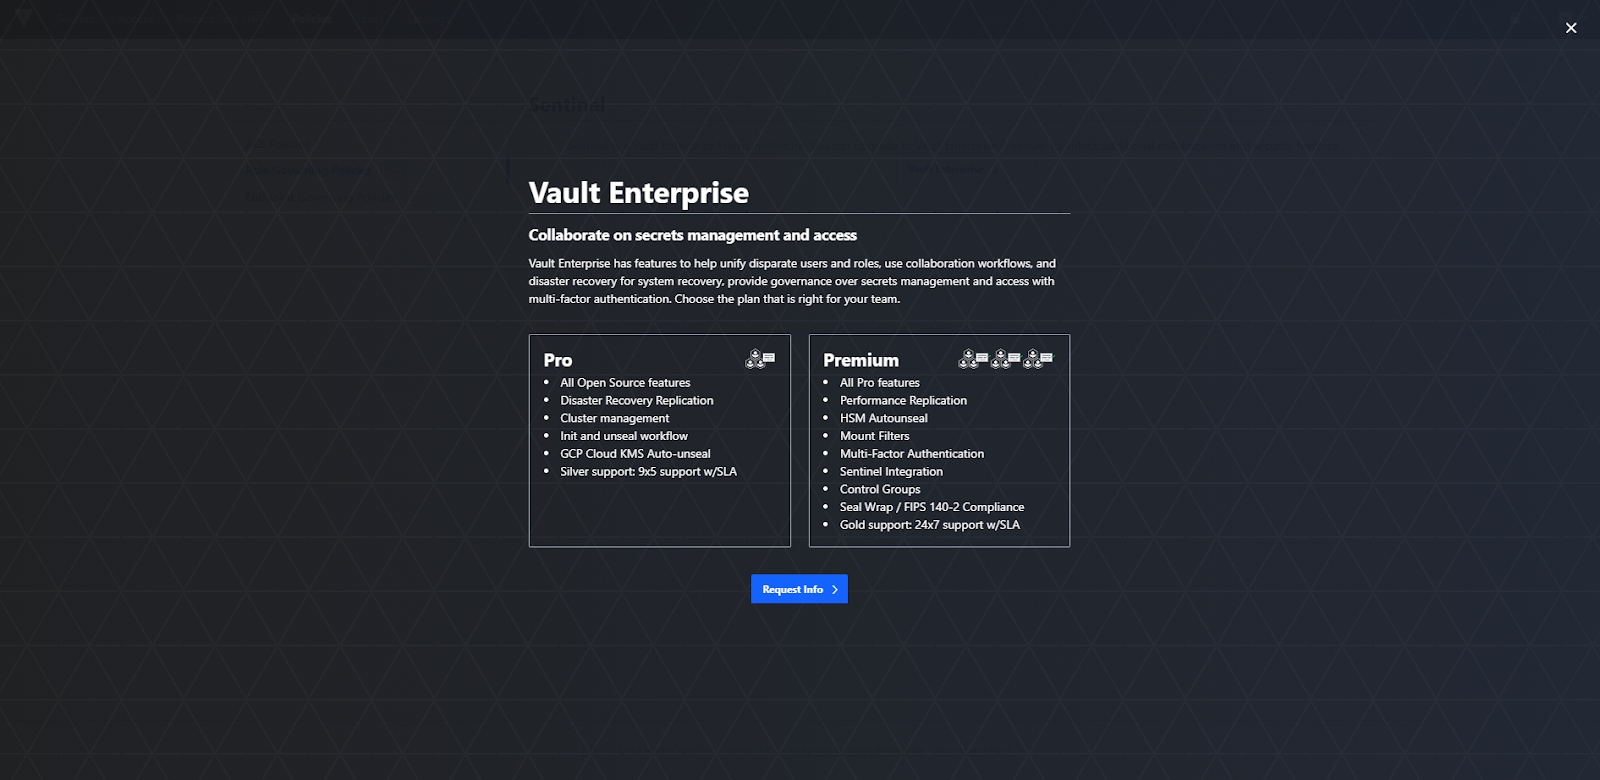
Role and Endpoint Governing policies are based on HashiCorp Sentinel, which is an Enterprise only feature. The "Vault Enterprise" link may be accessed to learn more.
Tools menu
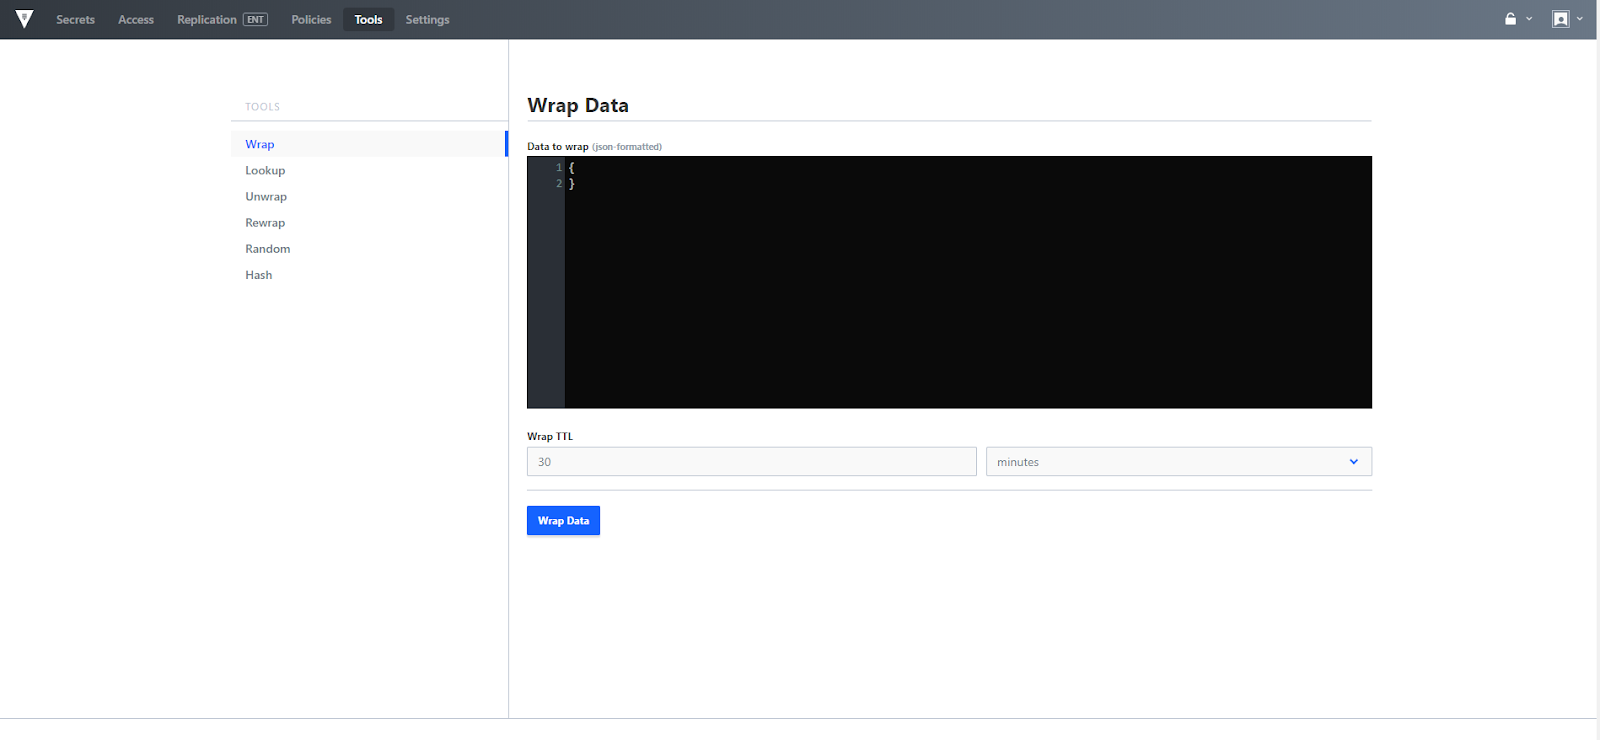
The tools menu provides a way to leverage response wrapping, as well as access cryptographic functions like random and hash.
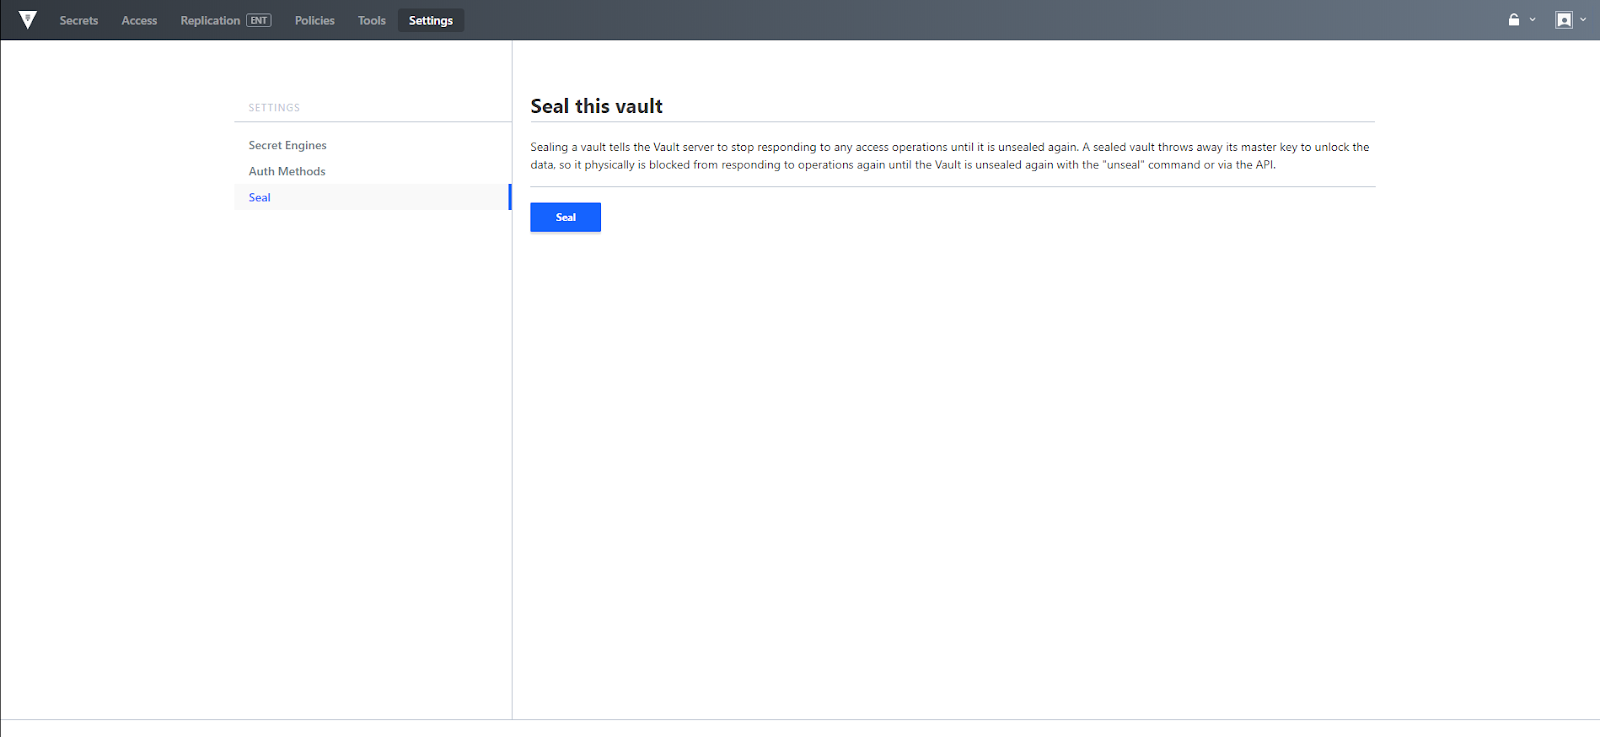
Settings menu
The settings menu provides a way to centrally review Secret Engines, Auth Methods, as well as to Seal the Vault. Sealing is useful if there is a detected intrusion whereas the Vault data can be locked quickly to try to minimize damages.
